


What is Portainer
Portainer is a Kubernetes, Docker/Swarm, and Nomad Universal Container Management System that streamlines container operations so we can deploy software to more places, more quicker.
Overview
The Portainer Server and the Portainer Agent are the two components of Portainer. Both run on your existing containerized infrastructure as lightweight containers. Each node in your cluster should have a Portainer Agent installed and configured to report to the Portainer Server container. A single Portainer Server can connect to any number of Portainer Agents, allowing you to administer many clusters from one centralized location. The Portainer Server container requires data persistence to accomplish this. Data is sent back to the Portainer Server container by the stateless Portainer Agents.
Installation of Portainer
Installing using Yaml Manifest file in my windows instance having minikube with HyperV installed. Yes, I am using the Kubernetes cluster without docker-desktop saving my local instance with heavy consumption of ram and storage. Check out the link below for easy installation on windows. https://avbodh.hashnode.dev/kubernetes-with-hyper-v
Apply Yaml Manifest file for easy installation.
// enterprise edition
kubectl apply -n portainer -f https://downloads.portainer.io/ee2-13/portainer-lb.yaml
// community edition
kubectl apply -n portainer -f https://downloads.portainer.io/ce2-13/portainer-lb.yaml
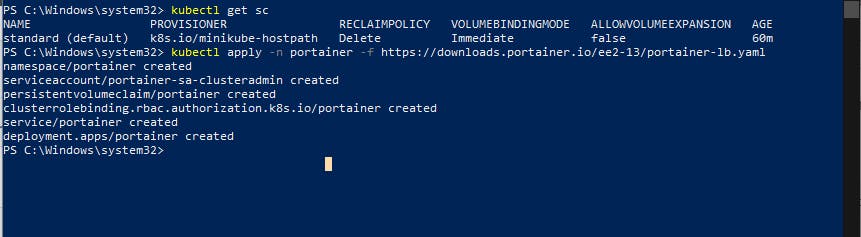
Since I used the enterprise edition mine will be prompted asking the license key when signing in. Not to worry Portainer comes with a community edition which is for free.
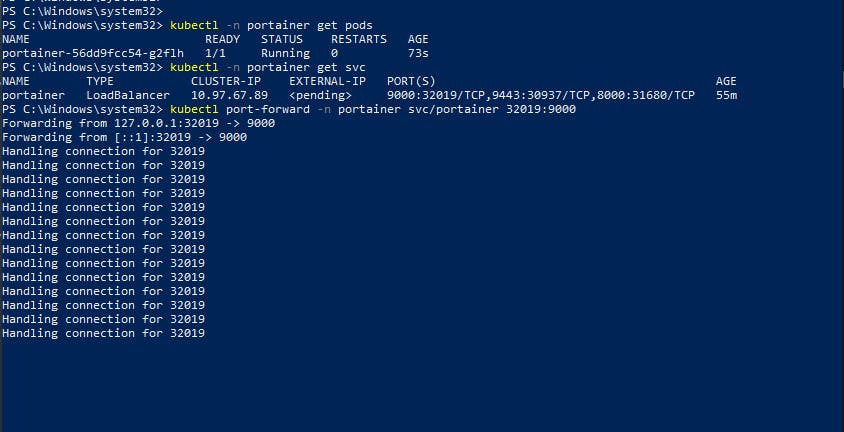
Goto Powershell with admin access to check whether portainer is up and running by using the command
Use port-forward to get external access to your portainer dashboard.
kubectl -n portainer get pods
kubectl -n portainer get svc
kubectl port-forward -n portainer svc/portainer 32019:9000
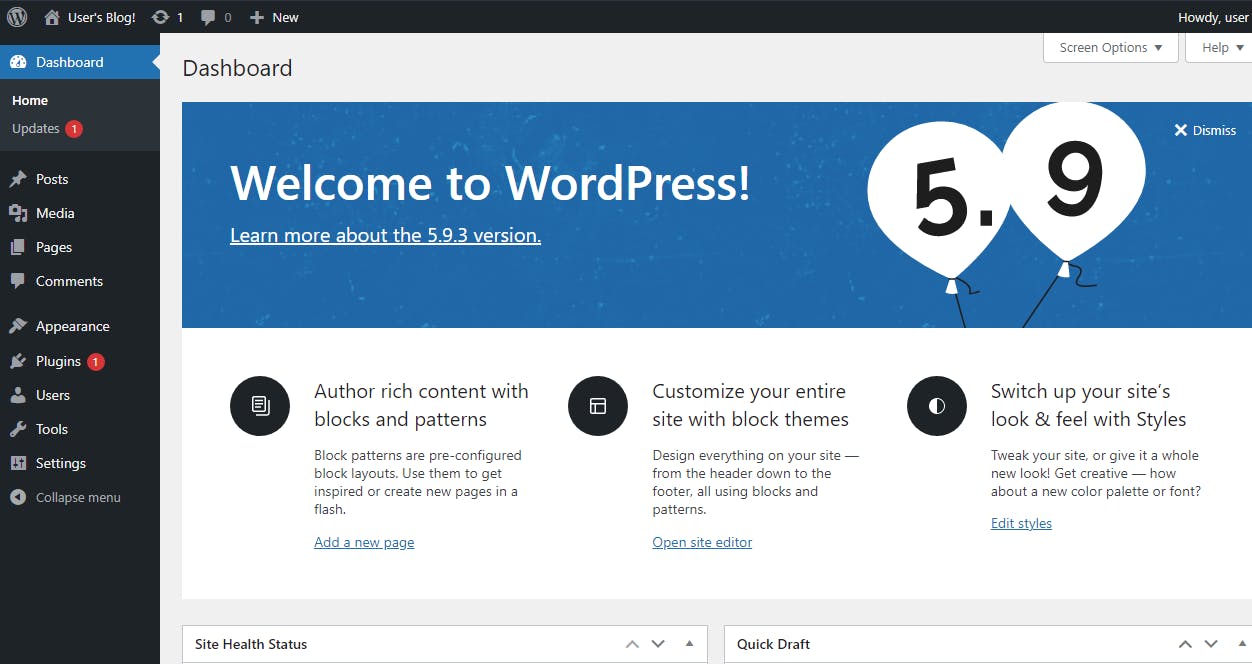
For the first time, you have to enter your username and password to get into portainer.
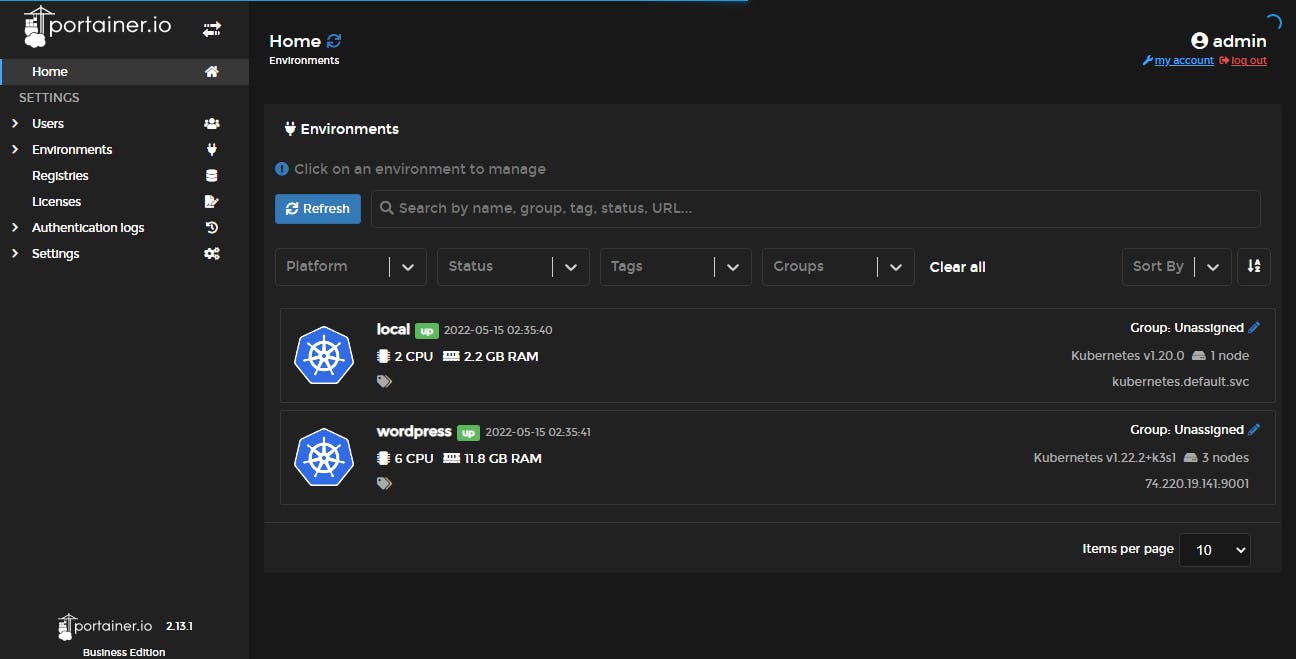
Portainer with KaaS
Portainer comes with docker, swarm, and Kubernetes provisioning within the cloud provider remotely from our local instance.
Select KaaS then civo, since were, are using civo which is a fast, simple, and Managed Kubernetes service.
Copy the ApiKey from civo by going to >setting>profile>security>Copy-APIKEY and paste it into the above portainer civo environment element.
Give cluster name and Select Region, Node size, Node count Network ID, and Kubernetes version
Finally, click on Provision environment this will create a Kubernetes cluster remotely in civo cloud platform.
Note: We cannot provision or select advanced features namely CNI from portainer by default it will select flannel CNI. In case you want to use cilium for your cluster then go to civo platform and select the feature before creating the cluster.
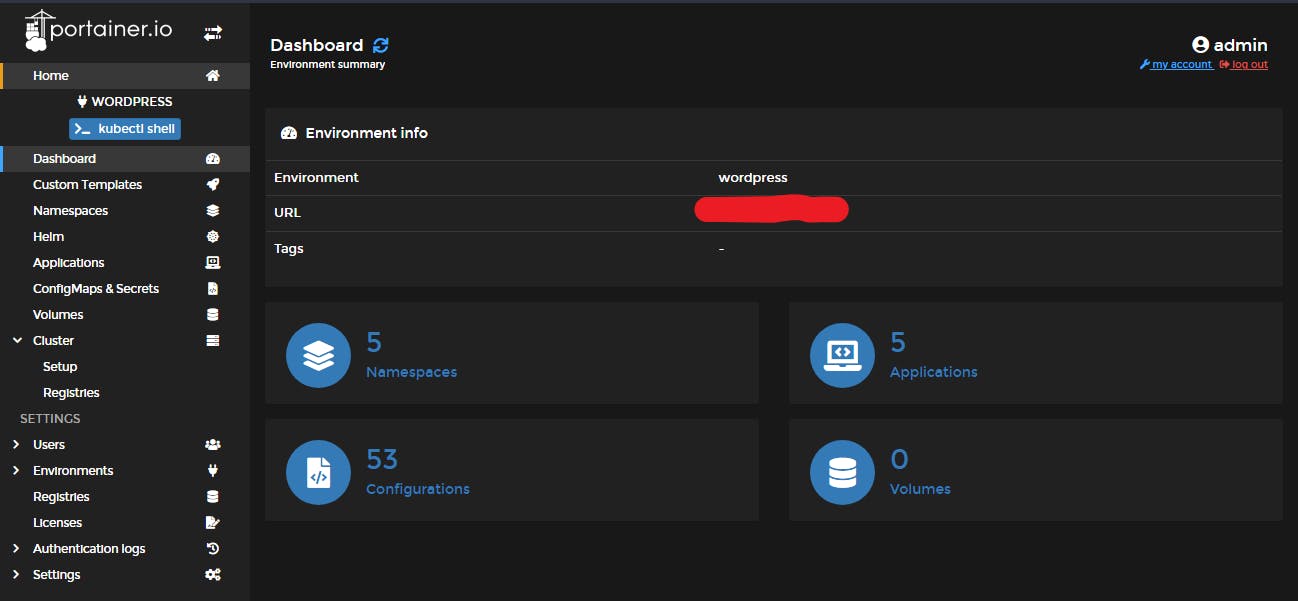
After provisioning, it comes with pretty handy tools to work with our remote cluster name >kubectl shell and we check our namespaces, volume, config maps, secrets, and applications.
Using Helm we can easily deploy applications into our cluster.
GOTO helm and select WordPress application give >Name for your application then >click install.
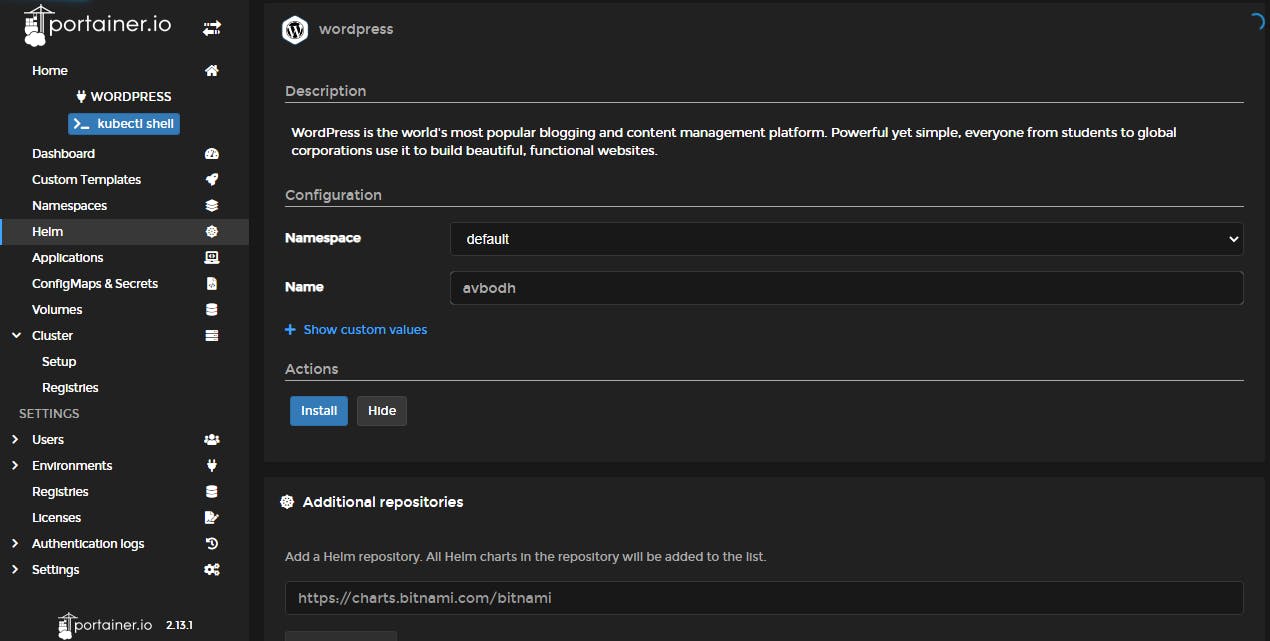
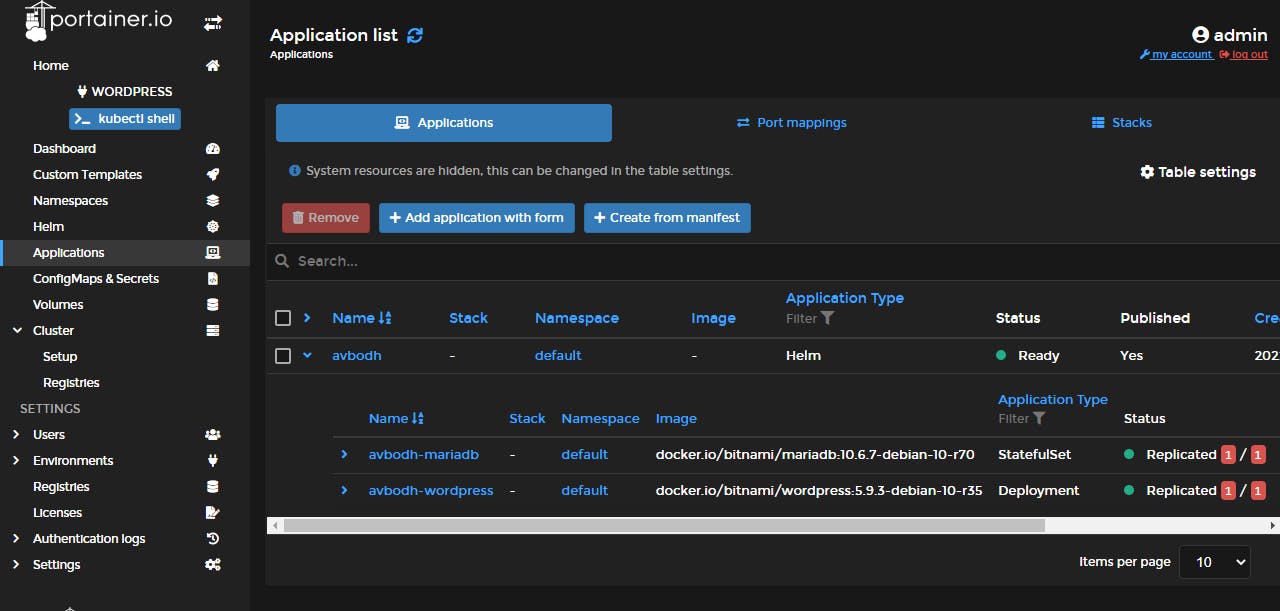
Super simple it takes 3 - 5 minutes to up and running state. Since we are using a WordPress application it comes with the default MariaDB database. No need to worry about the connections and configuration everything will be automatically configured in your favorite place.
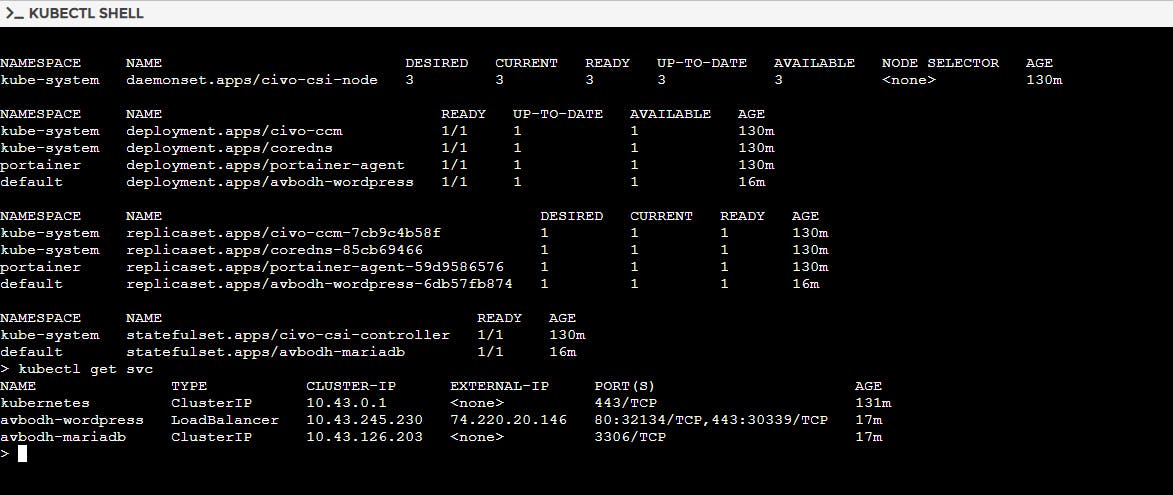
- Go to the Kubectl shell for accessing your remote cluster
// All namespaces running in our cluster
kubectl get all --all-namespaces

// checking services

kubectl get svc
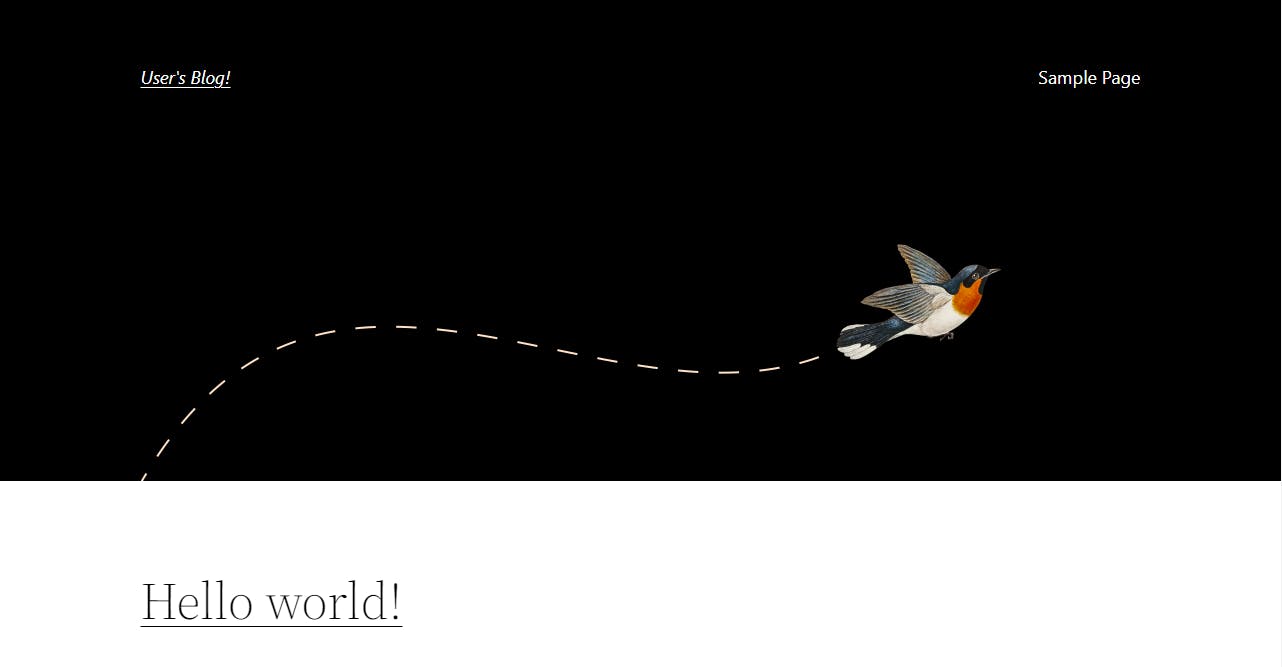
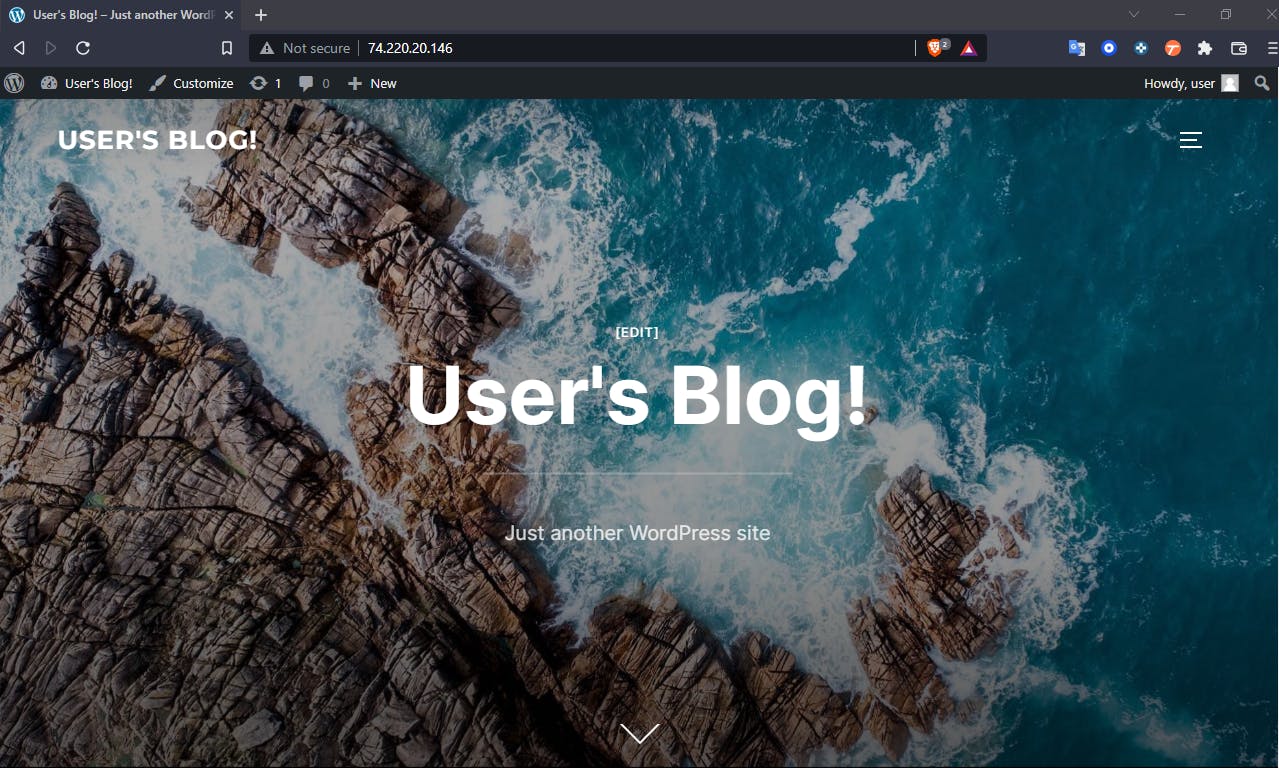
By simply accessing the external IP of our WordPress application we can open our site below is the default theme.
By giving login URL with external IP word press prompt for >username and >password
Simply go to the ConfigMaps and Secrets in your Portainer dashboard and copy-paste the user and password in the prompt.
Not liking default theme >Goto Appearance > Select your theme > install > Activate
Finally, WordPress Website is in your hand's happy Editing!!!